Making a Damascus knife
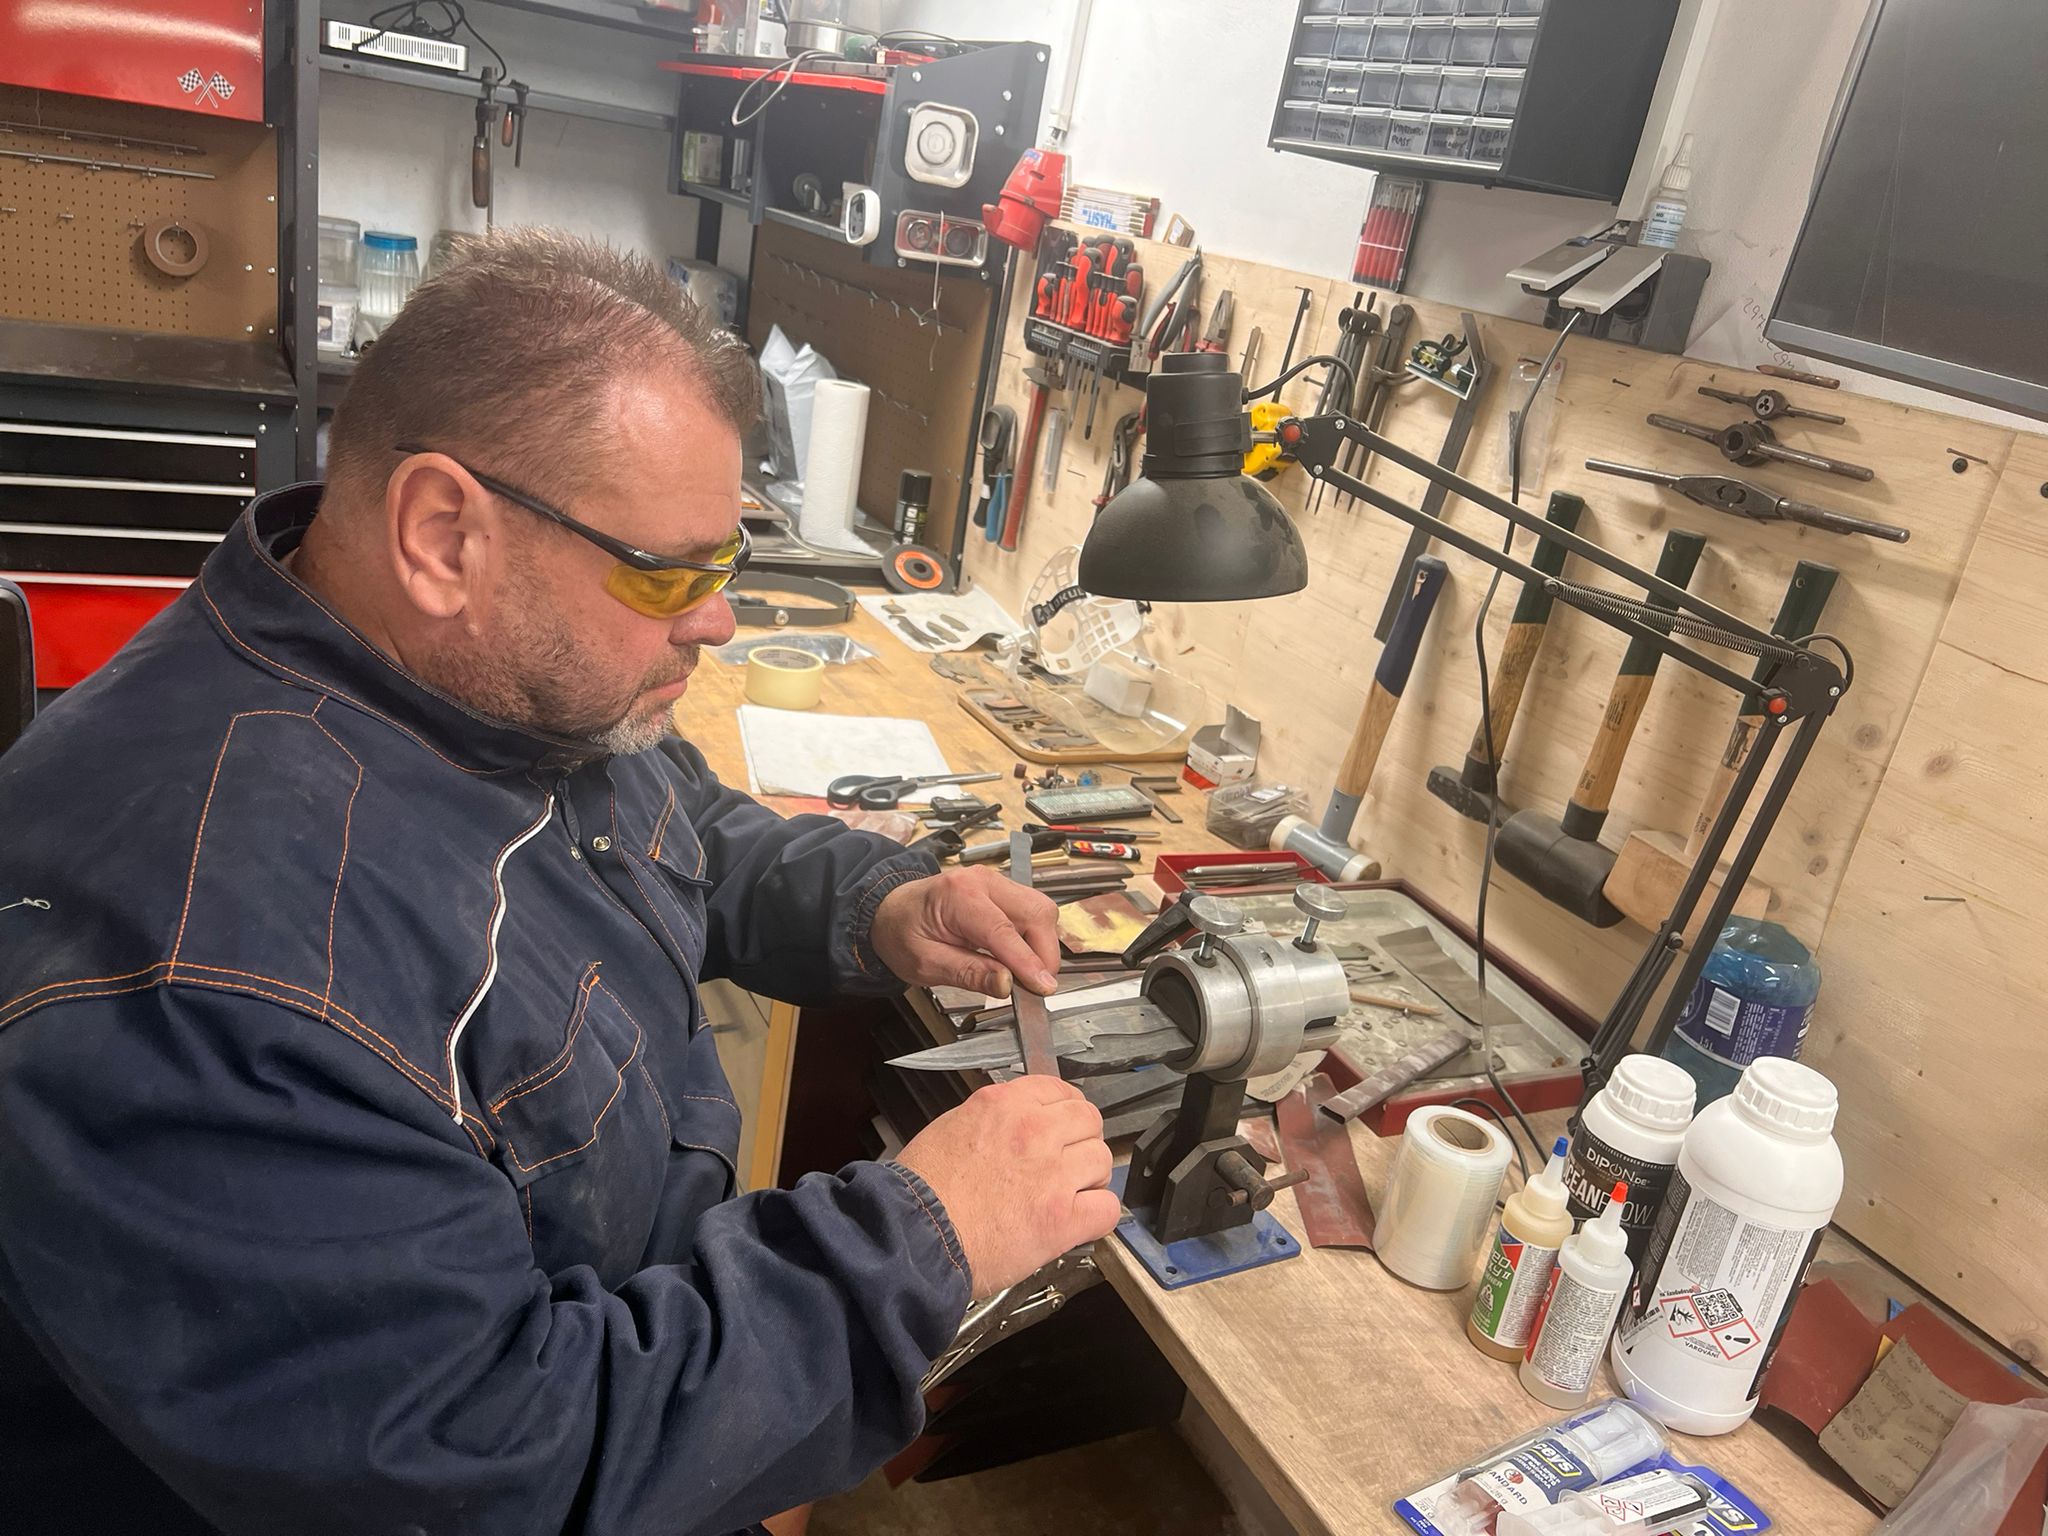
Making a Damascus knife is a fascinating and traditional craft that combines art and technique. Damascus steel is known for its characteristic wavy pattern, high hardness and toughness. Below you will find a basic overview of the steps involved in making such a knife.


1. Steel Selection
Damascus steel is created by layering two (or more) different types of steel. The most commonly used are:
-
High-carbon steel (e.g. 1095, 80CrV2) – hard, holds the edge well.
-
Low-carbon or stainless steel (e.g. 15N20) – contrasting, durable.
The greater the contrast between steel, the more pronounced the pattern.
2. Preparation of packages (bundles of steel)
-
The steel is cut into sheets of the same size.
-
The layers are alternately placed on top of each other.
-
The bundle can be spot-welded or fastened with wire.
3. Forging / welding
-
The bundle is heated in a furnace to approximately 1200–1300 °C.
-
It is forged with a hammer or under a press to connect the layers (so-called forge welding).
-
The bundle is then folded, folded, and welded again – this multiplies the number of layers.
-
E.g. 10 layers → folded to create 20 → 40 → 80…
-
4. Patterning (optional)
-
You can create different patterns (twist, raindrop, ladder, mosaic).
-
Twisting, milling, drilling or cutting before further forging creates different effects.
5. Forging the blade shape
-
After reaching the desired number of layers and pattern, the material is forged into the blade shape.
-
This is followed by rough grinding and shaping.
6. Heat treatment
-
Quenching – the blade is heated and quickly cooled in oil or water.
-
Tempering – mild heating (e.g. 200 °C) to increase toughness.
7. Grinding and polishing
-
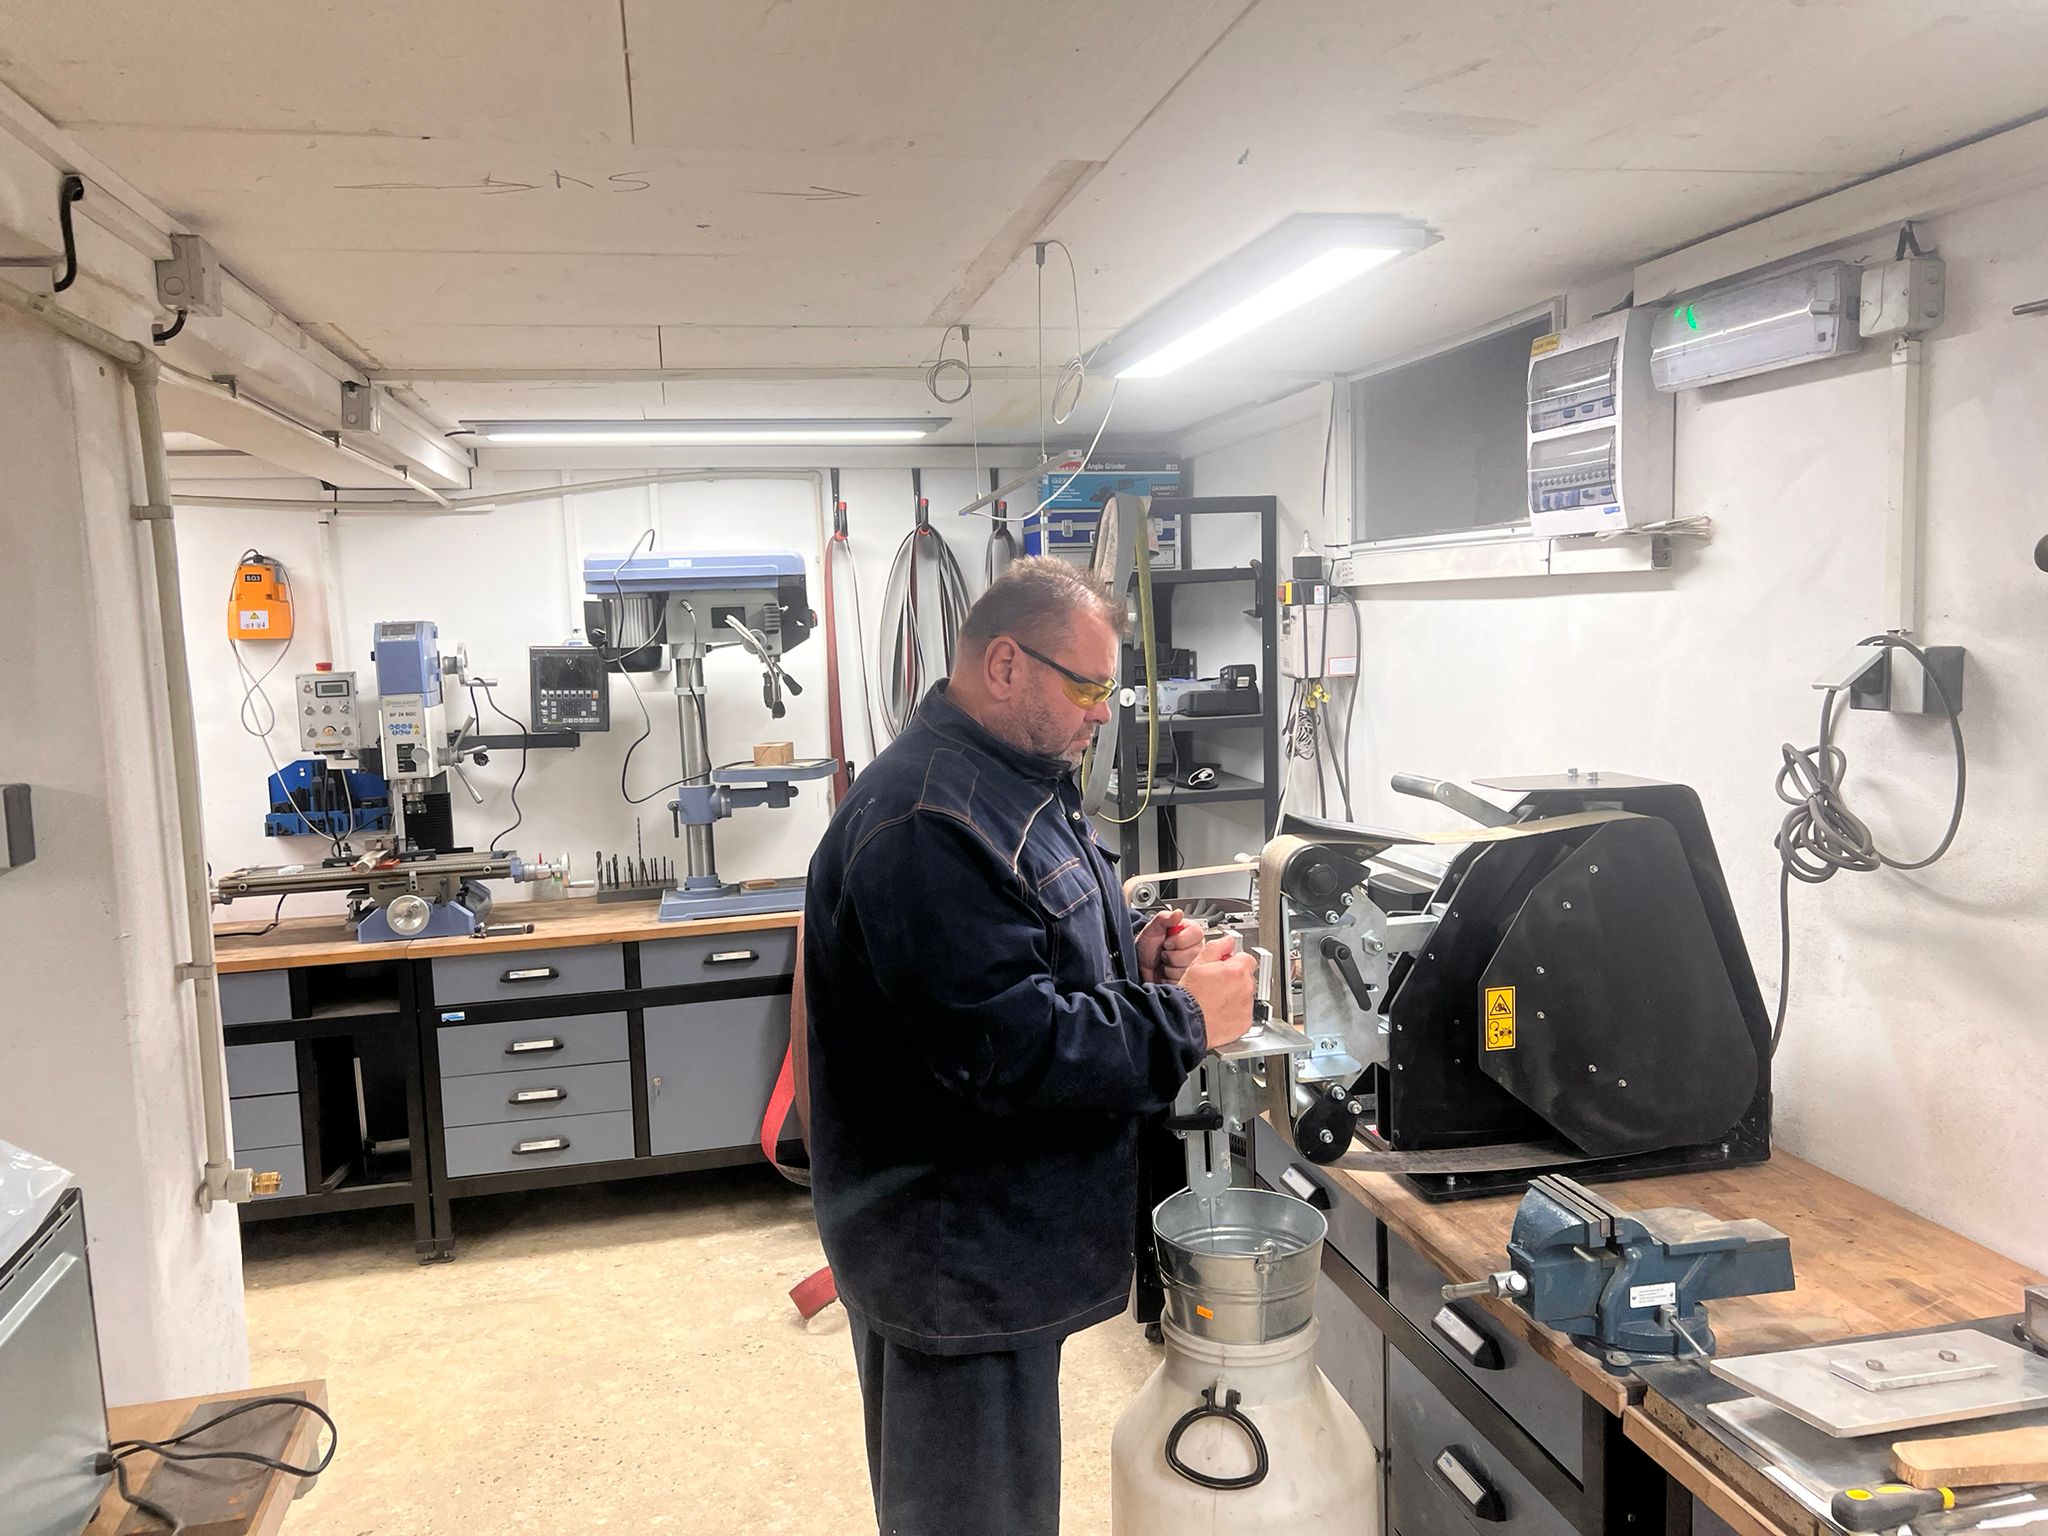
The blades are ground and polished more precisely.
-
The shape of the blade is adjusted according to the purpose of the knife (hunting, kitchen, universal…).
8. Etching
-
Blades are etched in acid (e.g. ferric chloride) to bring out the design.
-
Different steels react differently to etching, creating contrast.


